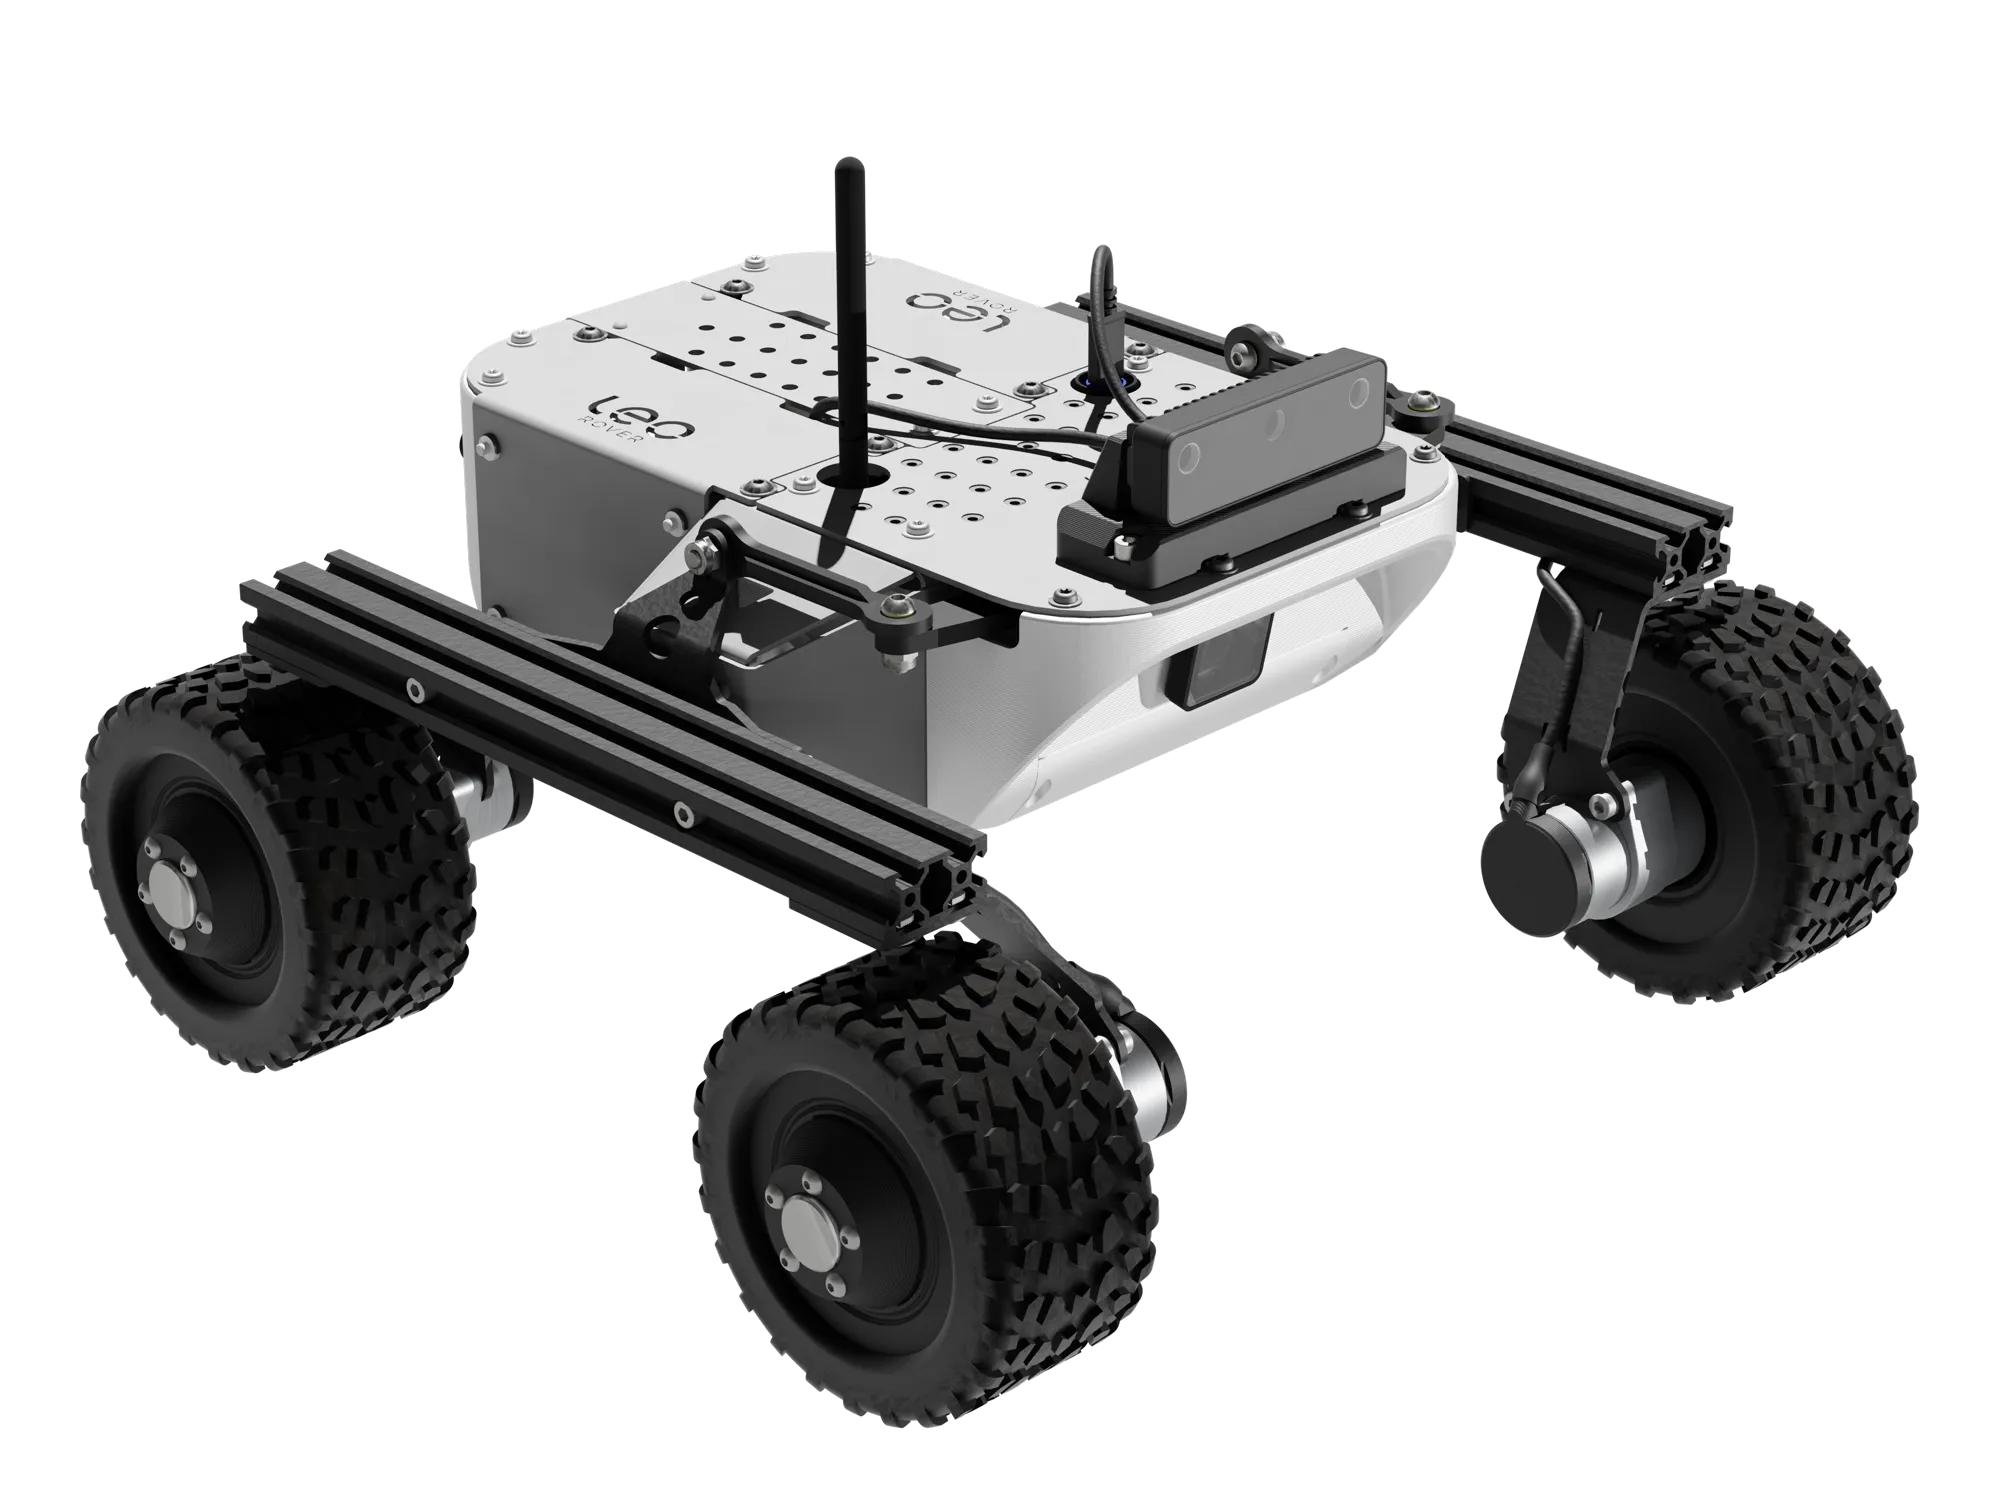
Luxonis OAK-D Camera Integration
This tutorial will guide you through the process of connecting an OAK-D camera to your Leo Rover.
The OAK-D is a camera for robotic vision that perceives the world like a human by combining a stereo depth camera and a high-resolution color camera with an on-device Neural Network inferencing and Computer Vision capabilities. It uses USB-C for both power and USB3 connectivity. In robotics, stereo cameras are commonly used for mapping the environment, object recognition, 3D scanning and in many other applications.
This tutorial is based on the Luxonis OAK-D Pro W IMX378 camera, but it will work with other OAK-D models as well (such as OAK-D S2, OAK-D Lite, OAK-D Pro).
What to expect?
After completing this tutorial, you will have successfully connected an OAK-D stereo camera to the Leo Rover in ROS, and you will possess basic knowledge about the use of stereo cameras.
You can find all available topics and configuration options here.
Prerequisites
Referenced products
Hardware integration
Mounting
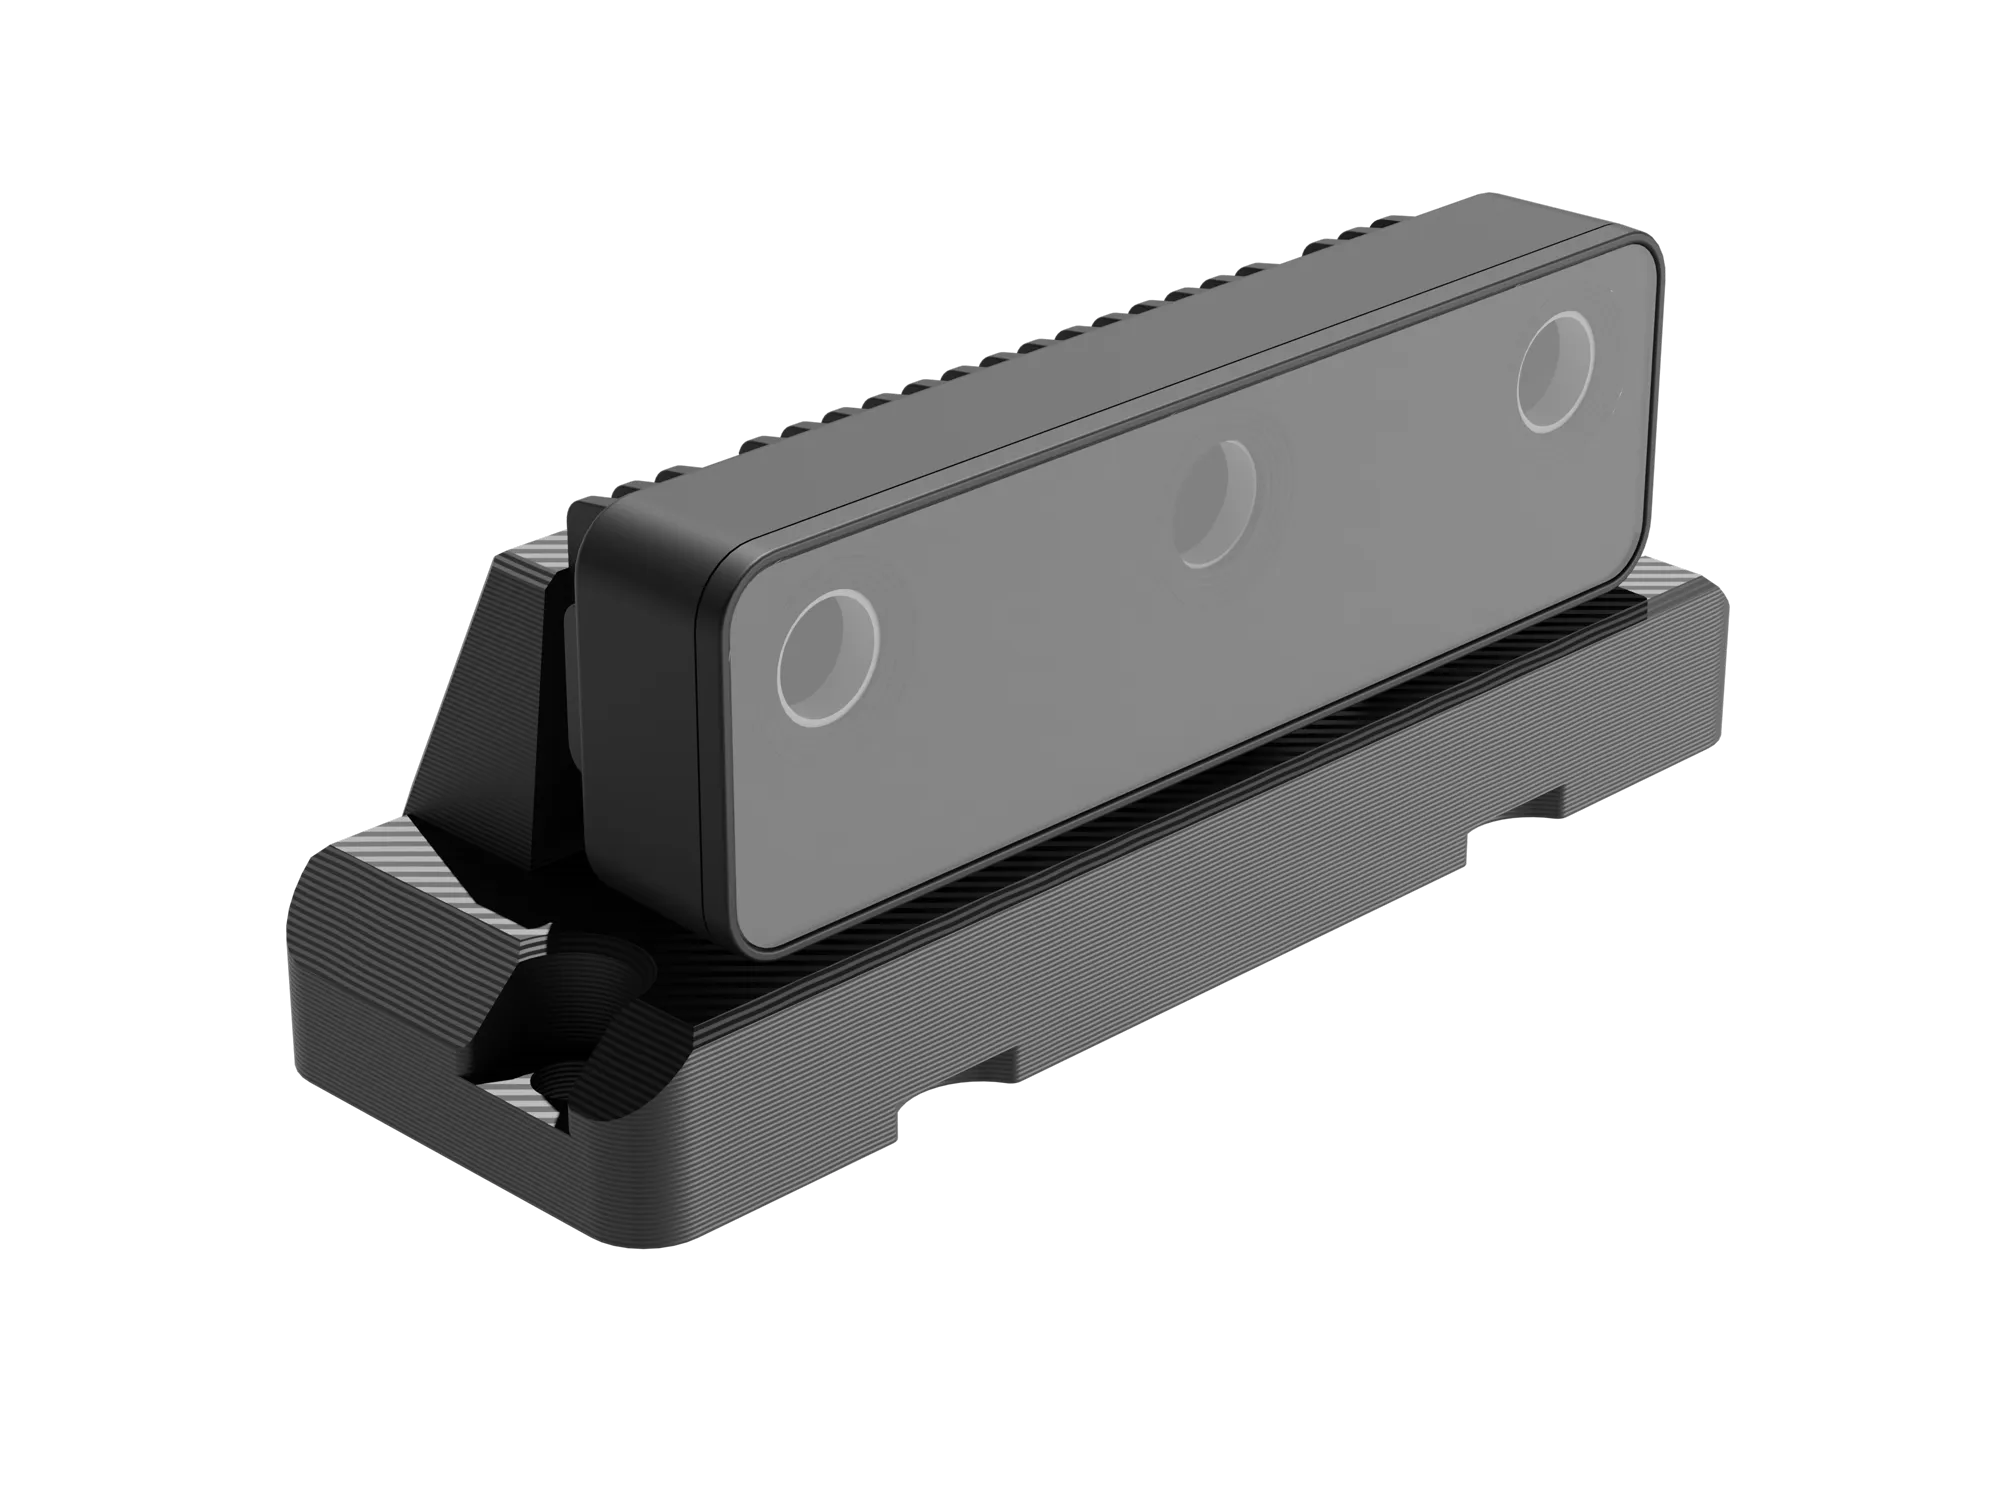
If you bought the integration from us, you can use the mounting adapter included in the package. It is designed to mount the OAK-D camera on top of the rover.
Required components:
- OAK-D camera
- Camera adapter
- M4 x 8 Allen head screw (x2)
- M5 x 10 Allen head screw (x2)
- USB-C right-angle adapter
- OAK Y-adapter
To mount the sensor:
- Insert the right-angle adapter into the USB-C port so that it faces backwards. Then, connect the OAK Y-adapter to the angle adapter.
- Insert the OAK-D camera into the adapter and secure it with the M4 x 8 bolts. Ensure that the camera's USB port faces downwards.
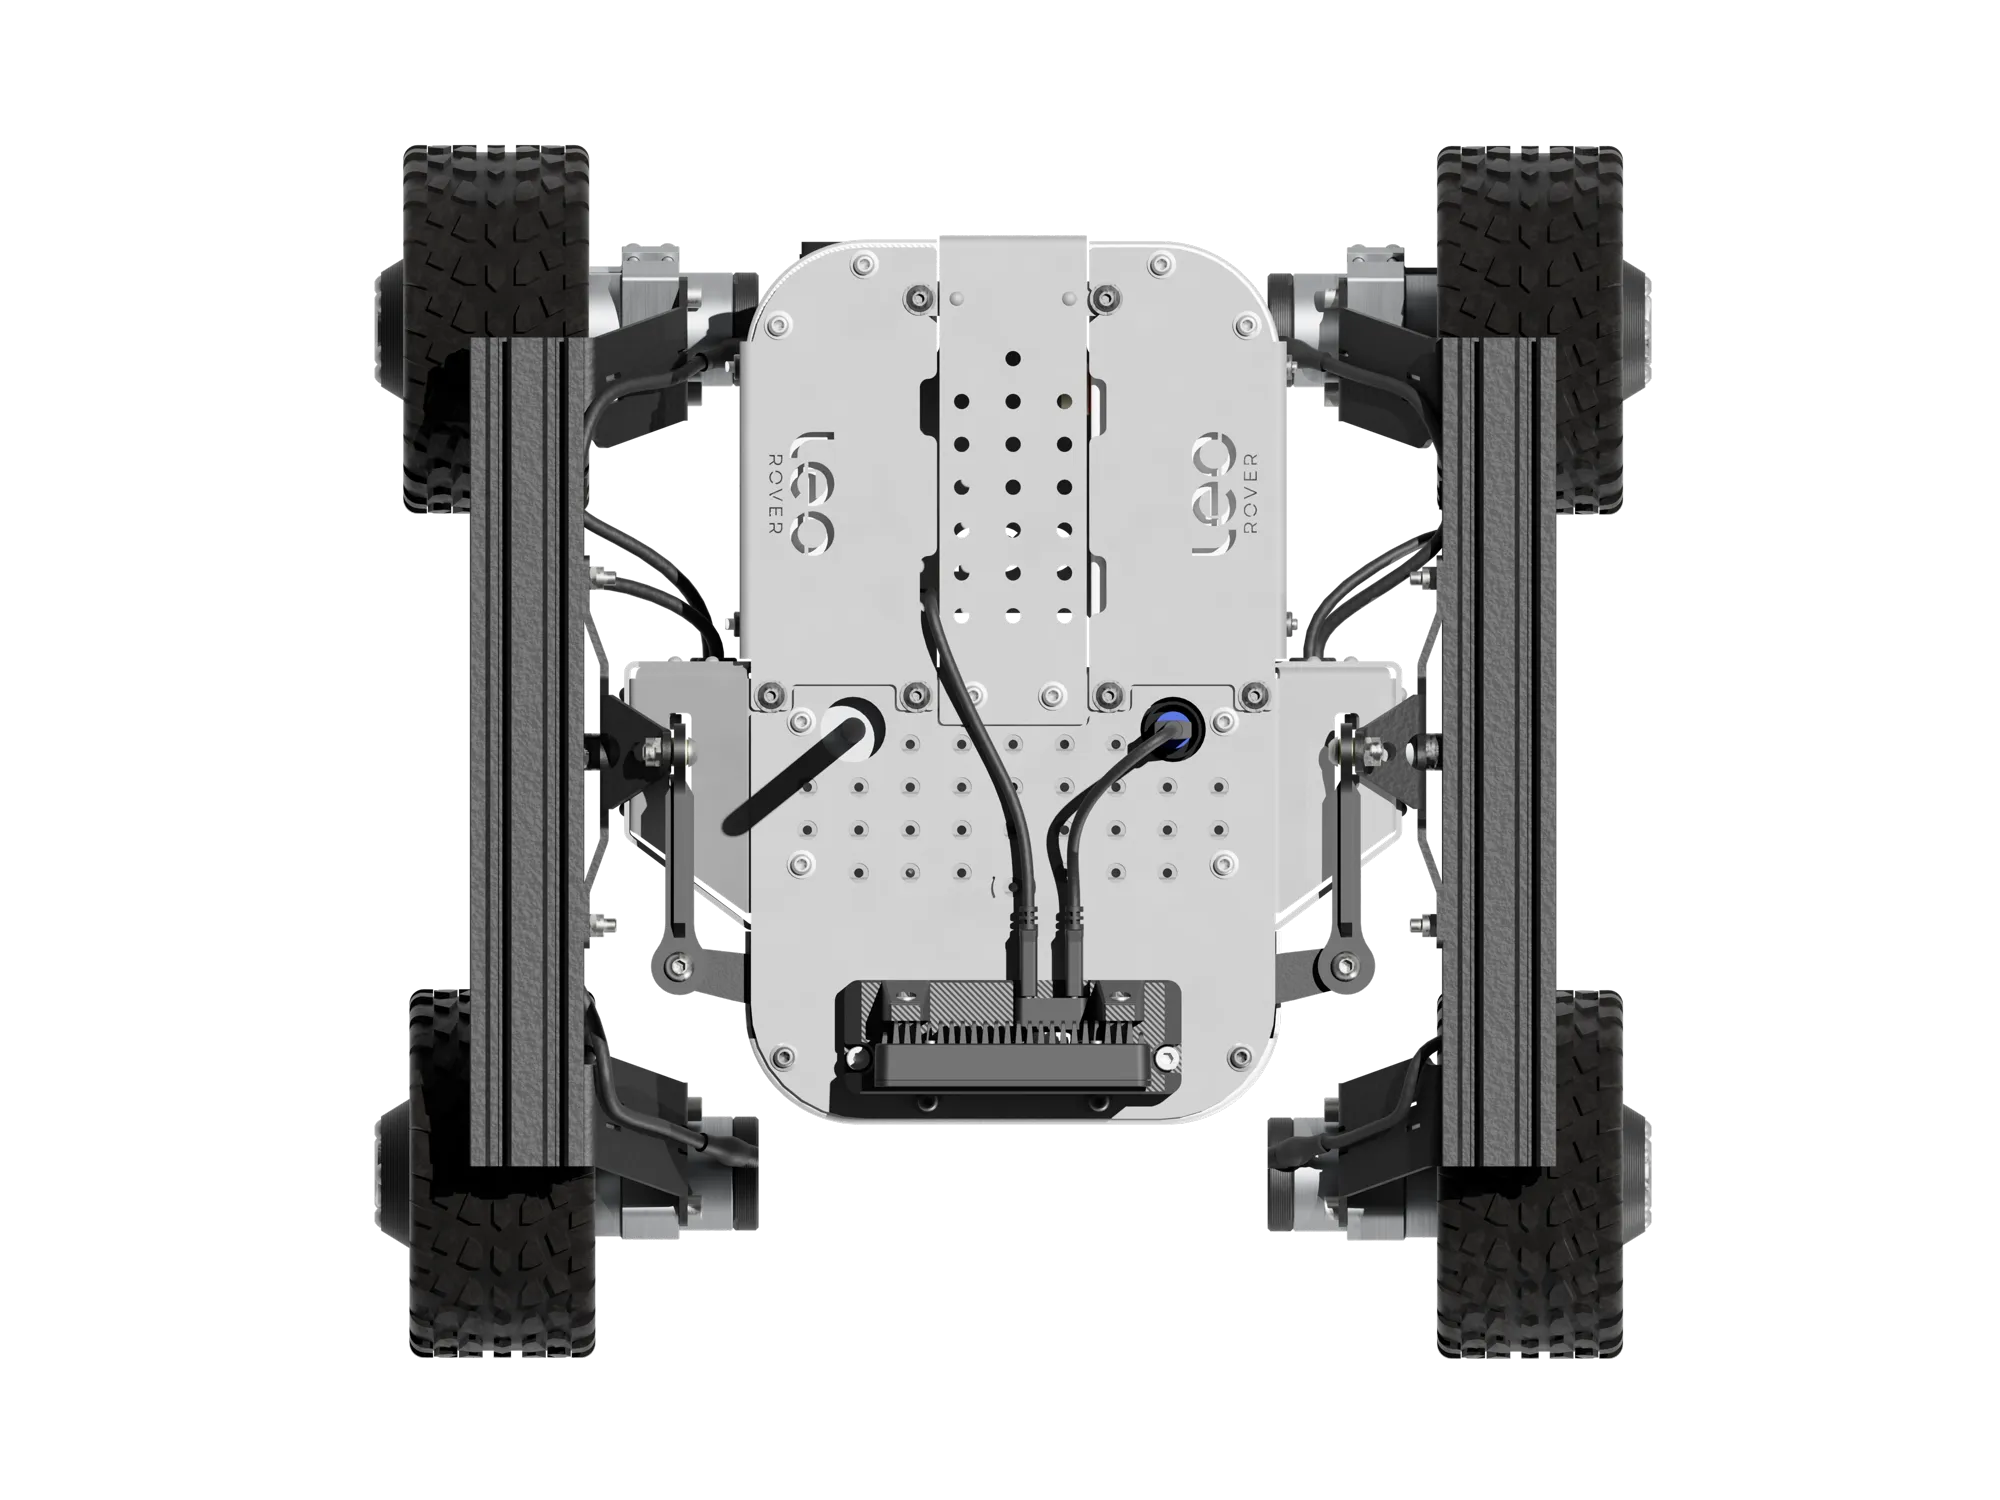
- Place the assembly on top of the rover and align the mounting holes with those in the front row of the rover. The camera should be perfectly centered.
At the bottom of the Wiring section, you will find a picture of the properly assembled product.
You can also mount the camera elsewhere on the rover, but you will have to adjust the camera's position and orientation in the URDF file accordingly.
Wiring
The OAK-D camera requires a relatively high supply current. Therefore, it is necessary to provide additional 5V power supply. We strongly recommend using the Powerbox addon.
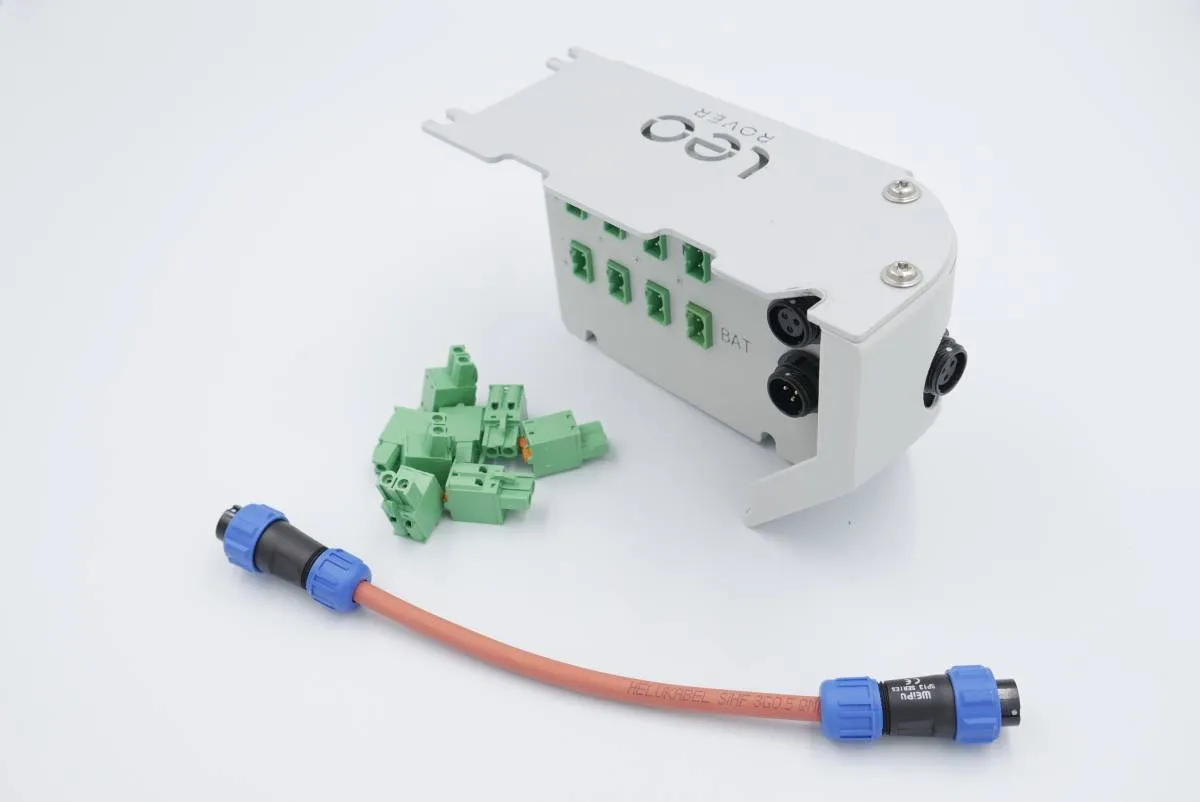
To connect the camera to the Leo Rover v1.9, simply connect the data port (marked with the USB symbol) of the OAK Y-adapter to the rover's USB-C interface.
Next, connect the 5V power supply using the USB power cable provided in the package. The USB-C end should be connected to the OAK Y-adapter's power port (indicated by the lightning bolt symbol), and the other end should be connected to the Powerbox 5V array.
Ensure that the cable is connected to the 5V array (indicated by the "5V" symbol, not "BAT"). Double-check the polarity: the red cable must connect to "+" and the black cable to "-".
After assembly, the rover with the integrated OAK-D camera should look like the picture below.
Software integration
Installing the packages
The first thing you can do is to make sure your device has the correct permissions. To do this, you can add the following rule to the udev service:
SUBSYSTEM=="usb", ATTRS{idVendor}=="03e7", MODE="0666"
Paste these lines to /etc/udev/rules.d/luxonis.rules file and reload udev
rules by typing:
sudo udevadm control --reload-rules && sudo udevadm trigger
We want the sensor functionality to be available in the ROS ecosystem, so you should install a ROS package that provides a node for the camera.
sudo apt install ros-${ROS_DISTRO}-depthai-ros
Adding camera model
As we want to have the camera model visible with the rover model, we need to
create an URDF file with the OAK-D included. Package depthai_descriptions is
installed alongside depthai-ros and it contains OAK-D camera models and xacro
macros that we can easily add (list of available models
here).
<?xml version="1.0"?>
<robot xmlns:xacro="http://www.ros.org/wiki/xacro">

  <xacro:include filename="$(find depthai_descriptions)/urdf/include/depthai_macro.urdf.xacro"/>

  <xacro:depthai_camera camera_name="oak"
                      camera_model="OAK-D-PRO-W"
                      base_frame="oak-d-base_frame"
                      parent="base_link"
                      cam_pos_x="0.09675"
                      cam_pos_y="-0.0485"
                      cam_pos_z="0.01575"
                      cam_roll="0.0"
                      cam_pitch="0.0"
                      cam_yaw="0.0"/>
</robot>
The parameters named cam_<> determine camera's position and orientation in the
robot model. In the file above they are set to the values that correspond to the
default mounting position of the camera on the rover. If you mounted the camera
differently, you will have to adjust these values accordingly.
Now we have to include our camera model in robot.urdf.xacro file - the
description that is uploaded at boot. Add this line somewhere before the closing
</robot> tag.
<xacro:include filename="/etc/ros/urdf/oak.urdf.xacro"/>
Creating launch and configuration files
To launch the camera you can, create your own launch file, use one of the
example packages from depthai-ros package or you can use the provided launch
file which provides basic functionalities such as camera image and depth data.
In /etc/ros create a .yaml configuration file. This example contains
configuration for OAK-D Pro Wide RGB and depth camera.
/oak:
  ros__parameters:
    oak.rgb.image_raw.enable_pub_plugins:
      ['image_transport/raw', 'image_transport/compressed']
    oak.stereo.image_raw.enable_pub_plugins:
      ['image_transport/raw', 'image_transport/compressedDepth']
    camera:
      i_pipeline_type: RGBD
      i_nn_type: none
      i_laser_dot_brightness: 1000
    imu:
      i_acc_freq: 50
      i_rot_freq: 50
      i_gyro_freq: 50
    rgb:
      i_publish_topic: true
      i_fps: 30.0
      i_resolution: 12MP
      i_isp_num: 1
      i_isp_den: 3
      i_output_isp: true
      i_width: 1344
      i_height: 1008
    left:
      i_publish_topic: false
      i_fps: 10.0
      i_resolution: 800P
    right:
      i_publish_topic: false
      i_fps: 10.0
      i_resolution: 800P
    stereo:
      i_align_depth: true
      i_subpixel: true
      i_stereo_conf_threshold: 110
      i_enable_brightness_filter: false
      i_brightness_filter_min_brightness: 1
      i_brightness_filter_max_brightness: 225
      i_enable_decimation_filter: true
      i_publish_left_rect: false
      i_publish_right_rect: false
This is a basic configuration for the OAK-D camera. Feel free to fine-tune the parameters to your needs.
Next, also in /etc/ros create a launch file that will use the previously added
configuration for the OAK-D camera node.
<launch version="0.1.1">
  <node name="oak" namespace="" pkg="depthai_ros_driver" exec="camera_node">
    <param from="/etc/ros/oak.yaml" />
  </node>

</launch>
You can set the namespace property of the node tag to whatever you want, but
the name has to be set to the same value as the camera_name in urdf file.
It's required for the camera data to be placed in correct TF frame.
For more information about OAK-D configuration and usage examples you can check out the depthai-ros github repository.
Launching camera nodes on system startup
Include your launch file in the robot.launch.xml file, so that your node will
start at boot.
In /etc/ros/robot.launch.xml add this line somewhere before the closing
</launch> tag:
<include file="/etc/ros/oak.launch.xml"/>
Now your OAK-D camera ROS node will start at launch. You can also start them now by typing
ros-nodes-restart
Examples
Reading and visualizing the data
The topics from camera node should be now visible. You can check them with
ros2 topic tool - topics from your node will have prefix specified by you in
the name and namespace node tag properties.
If you have ROS installed on your computer, you can get the camera image with rqt.
If you don't have ROS, you can follow this guide:
Before starting any of the programs, make sure you are connected to the rover's network:
Now you can start rqt, and from plugins -> visualization choose
image view and then choose your topic.
Don't worry if the quality is low, and the image is lagging. It is due to transfer of the data through your rover and computer.
You can also start RViz to see the robot model. Type rviz2 in the terminal,
or, if you have the leo_viz package installed, type:
ros2 launch leo_viz rviz.launch.xml
This will start RViz with visualization of the current robot model.
You can easily install the leo_viz package with this command
sudo apt install ros-${ROS_DISTRO}-leo-desktop
You will also have to install depthai-descriptions package on your computer
sudo apt install ros-${ROS_DISTRO}-depthai-descriptions
With RViz opened, add robot model in the display view. Chose also
base_link as fixed frame, and you should see the rover model with camera
attached.
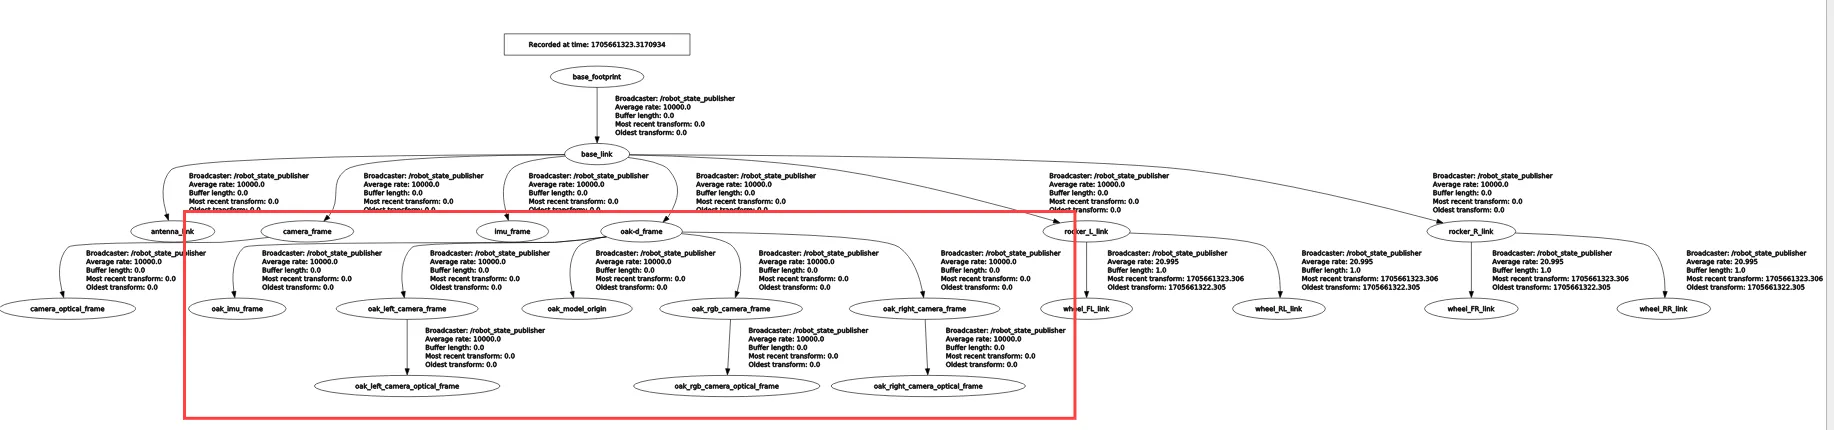
You can also display tf tree in rqt, to see if everything is configured
correctly (plugins -> visualization -> TF Tree)
What next?
Stereo cameras are commonly used in projects involving autonomous navigation, you might be interested in a tutorial about it.
They are however, not the only way of teaching a Leo Rover how to move on it's own. Check out our line follower tutorial if you want to learn more. You can also check our Integrations page for more instructions.